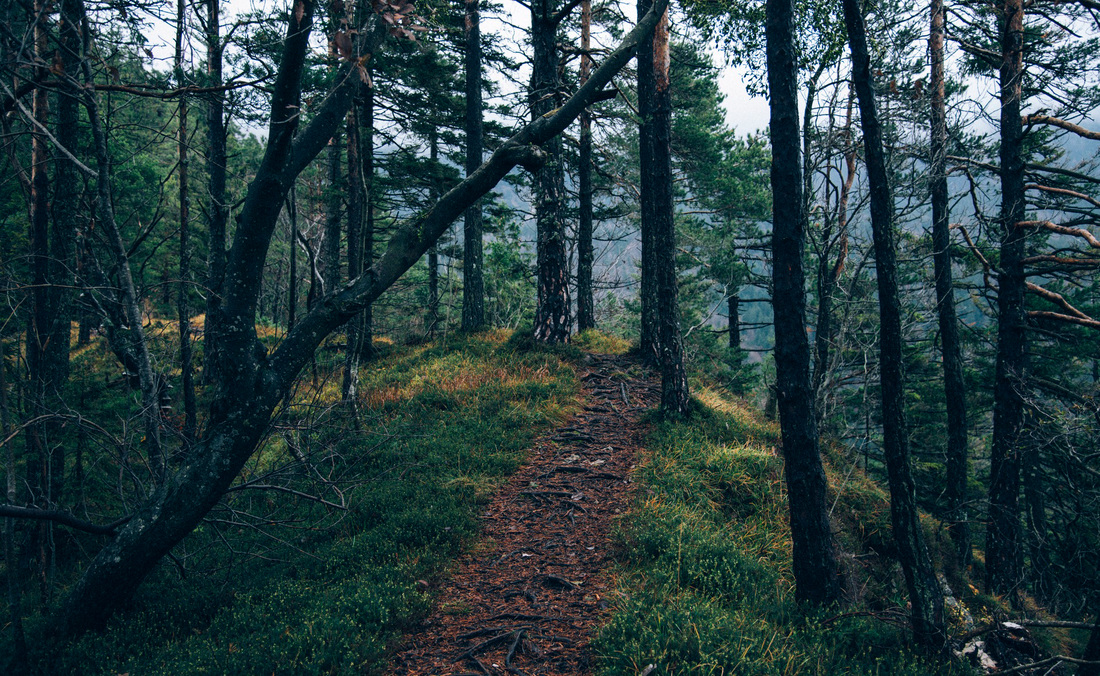
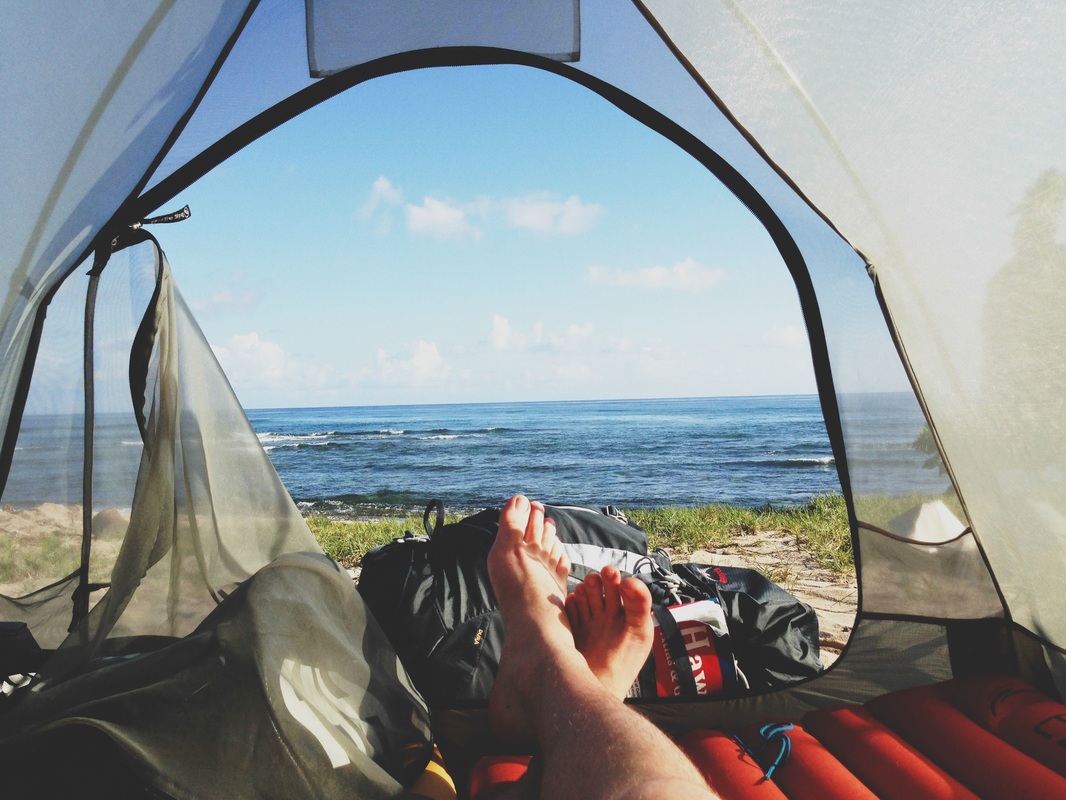
I'm James. This is my year of travel.

 
It can be a bit heavy on resource utilization at higher resolutions, but will create beautiful generations. This is the traditional way to upscale images, and can be helpful to increase the details while upscaling. 
Not only is it easy to use, but leads to far less confusion than other "switches" built into ComfyUI. With a new toggle-based system, you can change what runs and how it runs in seconds. This ControlNet will apply to the module when generating the output image. You can also adjust the strength, start percent, and end percent. You can standardize the seed across all the modules or use separate seeds per moduleįixed incorrect linkage for img2img Face Detailer (was using txt2img output)Īdded LoRA / Lycoris support for Face DetailerĮvery module has it's own ControlNet section, where you can copy/paste the preprocessed image and select the type of ControlNet you are looking to run. The FaceDetailer module is now the AfterDetailer module and supports all the above Module based, making it easier to understand what's going onĭraw custom masks or use the segmentation model to auto-generate masks for your selected areas Major overhaul to the design of the workflow Support for loading outside images for upscalingįixed bug where it would always regenerate images even when it didn't need to Support for both SDXL Base-only and Base + Refiner flows Replaced image aspect ratio selector to support custom sizes Just run the extractor-v3.2.exe included in the zip file to use itĪdded img2img generation as optional input to Ultimate SD Upscalerįixed alternative VAE selector (0 = base | 1 = alternative) Pick a style to influence your generationsĭrag-and-drop your image to view the prompt details and save it in A1111 format so CivitAI can read the generation details Please show him some support and check out his other great AI/ML and Art based videos!Ĭome join me in my Discord server to ask any questions you may have, make suggestions for future versions of this workflow, or post your creations! You should see significantly higher CPU usage (40%+).ImpactFrames has done an outstanding job showing some of the different features of this workflow and walking you through a short getting started tutorial. 
It should automatically use Ninja, no extra config is needed. Run the follow commands to start building.Run ninja -h in cmd and verify if you see a help message printed.place ninja.exe under C:\Windows OR add the full path to the extracted ninja.exe into system PATH.OPTIONAL tip: To further speed up on multi-core CPU Windows systems, install ninja. You can finally build xFormers, note that the build will take a long time (probably 10-20minutes), it may initially complain of some errors but it should still compile correctly. Do $env:NVCC_FLAGS = "-allow-unsupported-compiler" if on powershell, or set NVCC_FLAGS=-allow-unsupported-compiler if on cmd Clone the xFormers repo, create a venv and activate itĪs CUDA 11.3 is rather old, you need to force enable it to be built on MS Build Tools 2022.Install CUDA 11.3 (later versions are not tested), select custom, you only need the following (VS integration is probably unecessary):.Building xformers on Windows by Install VS Build Tools 2022, you only need Desktop development with C++ The compatible wheel will be automatically installed. If you are using a Pascal, Turing, Ampere, Lovelace, or Hopper card with Python 3.10, simply launch the repository using the -xformers flag. You can view the package upgrades and other details of this update in this PR. This change was implemented when WebUI transitioned from a user-built wheel to an official wheel. Important Notice - No Need for Manual InstallationĪs of January 23, 2023, neither Windows nor Linux users are required to manually build the Xformers library. Older versions below 0.0.20 will produce non-deterministic results. This enhancement is exclusively available for NVIDIA GPUs, optimizing image generation and reducing VRAM usage. The Xformers library provides an optional method to accelerate image generation.
0 Comments
Leave a Reply. |
AuthorWrite something about yourself. No need to be fancy, just an overview. ArchivesCategories |
 RSS Feed
